After a couple of posts related to Star Wars, back to 1/72 and the Napoleonic era. This week-end, I have painted a company of Fusiliers-grenadiers, a middle guard unit attached to the regiments of Grenadiers à pied.
Much less known than the units of the old guard, the fusiliers-grenadiers formed a regiment created in december 1806, and disbanded in may 1814. The regiment consisted of two four-companies battalions, for a total strength of about 1800 men.

I've painted a unit of 10 soldiers, 1 NCO (first figure from the left) and 1 officer wearing a surtout.
Those who follow this blog from the beginning may have recognized the unexpected guest, the goat-that-travels-through-time. So a little game: could you find the year, and the post in which this goat was spotted for the last time ?
Meanwhile, the plastic soldiers keep on marching through the village.


Nothing new regarding the painting technique, which has already been explained a few years ago at Benno's. I could copy a link to the post with the explanation, but I've just checked, and I realized that:
So I think it might be a good idea if I put everything here. Here you are:
Concerning white: when I want to paint white clothes, I first don't use white, but I start to paint a light grey layer, with a Citadel paint called Deneb Stone (in their old denominations, I don't know the name in their current range).
An example, with a Fusilier grenadier (french middle guard by Hät):

Then I wash the area with Agrax Earthshade - not much on the light grey area, or the shading might be too strong - well it is a question of taste.

Then I begin to lighten. I paint a layer of pure Deneb Stone (carefully, because at this step you have to keep your shades as thin lines between the different elements: clothes, belt...). Then I mix Deneb Stone and white, and I add a new thin (diluted) layer on some areas only - those that receive the sunlight. It is possible de repeat this operation several times on always smaller areas - it depends on your time and on the quality you want to get.
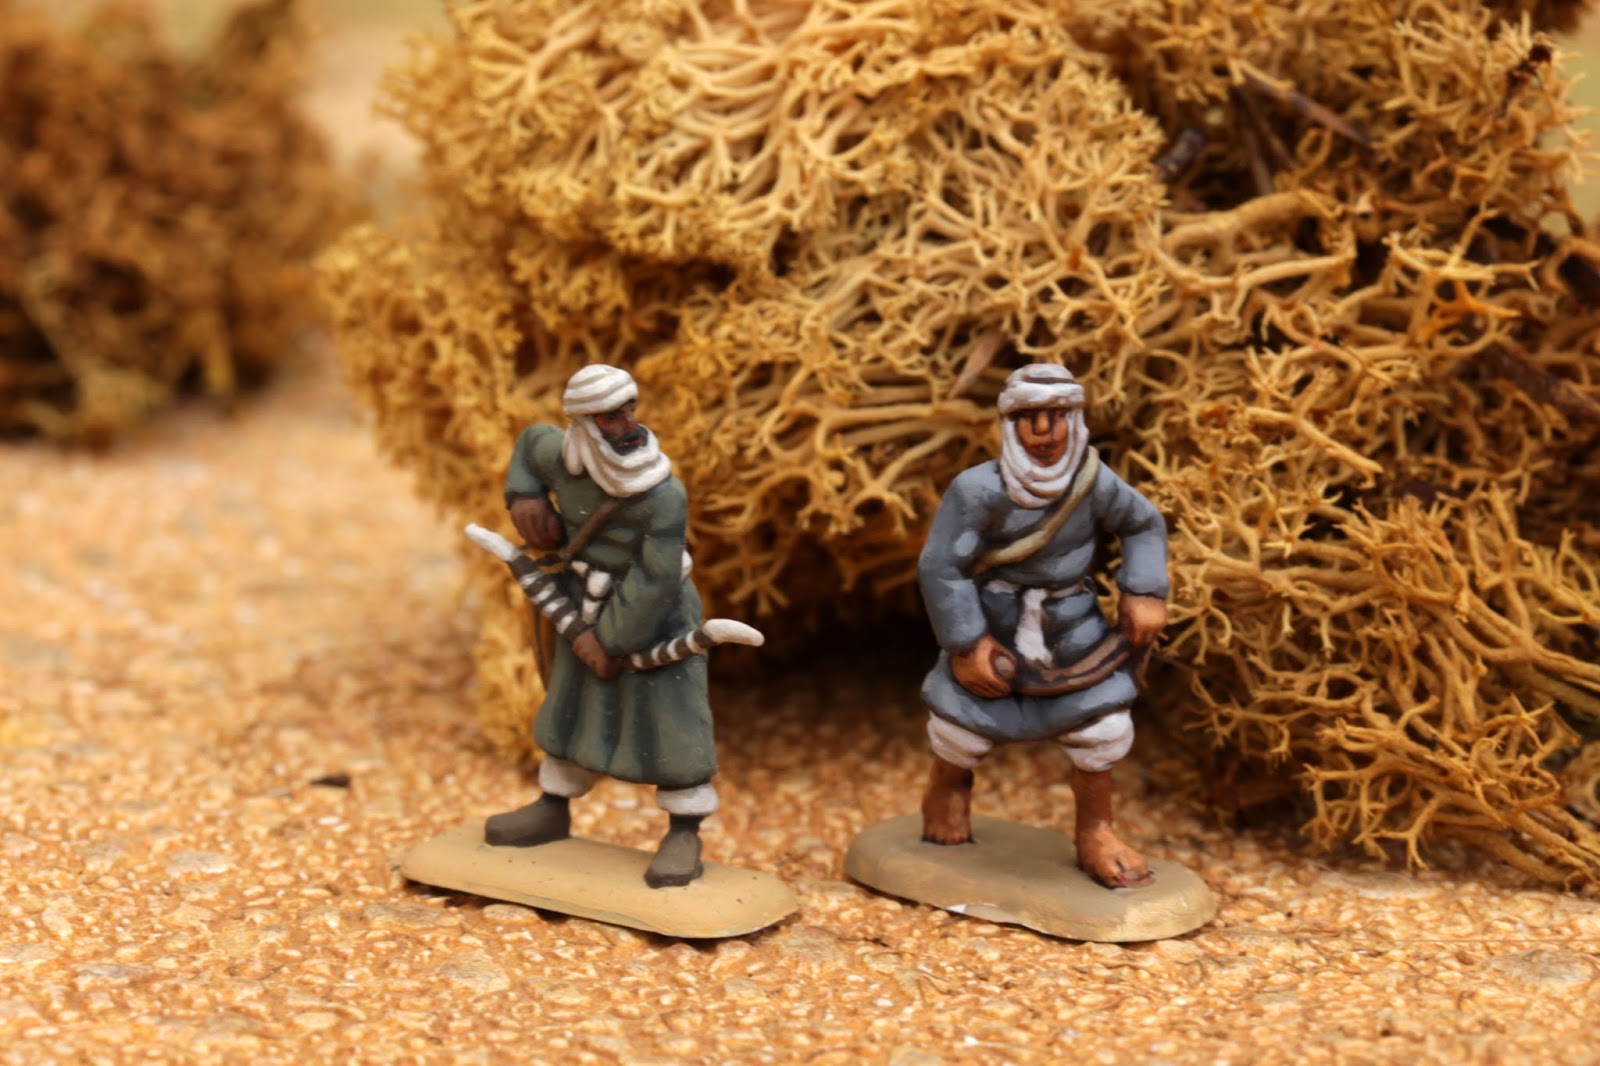
In my example, the belts are painted in a whiter color than the clothes. In the picture below, you have the three steps illustrated on three different minis:

Concerning the flesh, I use a red ink to shade the face and the hands, but I am not very happy with the result because the contrast is not strong enough in my taste. I will go back to my previous technique, a simple wash of diluted of Citadel Dark Flesh (ancient range, it is a sort of brown red), then lightening as explained before. The only difference is that I lighten the flesh paint with Citadel Ushabti Bone (something like ivory), NOT white.
Here you are the result:

I hope you find this little explanation useful, and that you like the result :)
Much less known than the units of the old guard, the fusiliers-grenadiers formed a regiment created in december 1806, and disbanded in may 1814. The regiment consisted of two four-companies battalions, for a total strength of about 1800 men.

I've painted a unit of 10 soldiers, 1 NCO (first figure from the left) and 1 officer wearing a surtout.
Those who follow this blog from the beginning may have recognized the unexpected guest, the goat-that-travels-through-time. So a little game: could you find the year, and the post in which this goat was spotted for the last time ?
Meanwhile, the plastic soldiers keep on marching through the village.


Nothing new regarding the painting technique, which has already been explained a few years ago at Benno's. I could copy a link to the post with the explanation, but I've just checked, and I realized that:
- The post is difficult to find since I answered a question (by Sceavus :)) in a thread regarding half orcs
- The pictures used to explain are no longer visible since the host on which they were stored is no longer in activity.
So I think it might be a good idea if I put everything here. Here you are:
Concerning white: when I want to paint white clothes, I first don't use white, but I start to paint a light grey layer, with a Citadel paint called Deneb Stone (in their old denominations, I don't know the name in their current range).
An example, with a Fusilier grenadier (french middle guard by Hät):

Then I wash the area with Agrax Earthshade - not much on the light grey area, or the shading might be too strong - well it is a question of taste.

Then I begin to lighten. I paint a layer of pure Deneb Stone (carefully, because at this step you have to keep your shades as thin lines between the different elements: clothes, belt...). Then I mix Deneb Stone and white, and I add a new thin (diluted) layer on some areas only - those that receive the sunlight. It is possible de repeat this operation several times on always smaller areas - it depends on your time and on the quality you want to get.
In my example, the belts are painted in a whiter color than the clothes. In the picture below, you have the three steps illustrated on three different minis:

Concerning the flesh, I use a red ink to shade the face and the hands, but I am not very happy with the result because the contrast is not strong enough in my taste. I will go back to my previous technique, a simple wash of diluted of Citadel Dark Flesh (ancient range, it is a sort of brown red), then lightening as explained before. The only difference is that I lighten the flesh paint with Citadel Ushabti Bone (something like ivory), NOT white.
Here you are the result:

I hope you find this little explanation useful, and that you like the result :)